what kind of light to use for seedlings
Cannabis seeds are expensive.
You want to make sure they sprout, considering any seeds that go to waste cost you a lot of money.
To maximize the chance of success, seeds demand the right conditions.
They need the right amount of light, the right temperature and the correct amount of moisture.
If you provide what they want, the changes of successful germination skyrocket.
If you do not provide the ideal weather, the chances of success plummet.
We'll tell you exactly what you demand to do to requite your weed seeds the best chance at becoming a strong and healthy marijuana plant. And nosotros'll start with the question that likely brought you hither: the light requirements.
Annotation: if you're looking to purchase seeds, we don't sell them, merely we recommend this store (they accept a formation guarantee, which is a overnice touch). Nosotros circumspection against using bag seed.
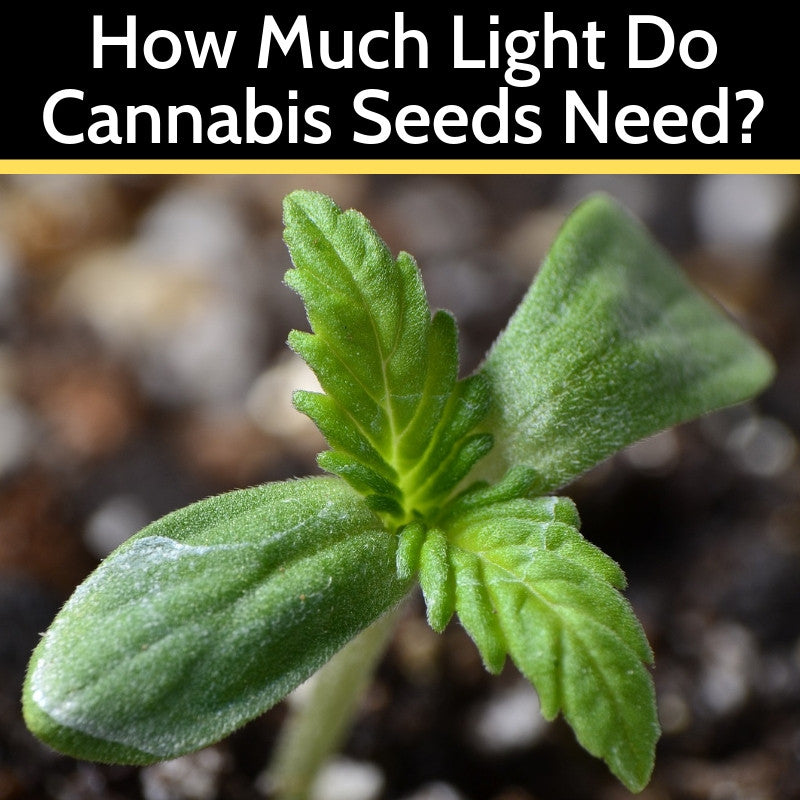
How Much Light Do Cannabis Seeds Need?
Cannabis seeds need no light when they are germinating.In fact, they require an absence of light. All of the methods below call for darkness.
In one case they have sprouted, they will demand a lot of calorie-free—eighteen hours a day, to exist exact (though you could even give them 24 hours of light per day).
How To Germinate Cannabis Seeds
There are several methods for germinating marijuana seeds, each with their pros and cons. We will cover the all-time methods below, with the kickoff method offer the best risk of success and the final one offering the lowest chance.
These seeds are expensive, and then nosotros recommend using the method with the all-time hazard of success, so you reduce the hazard of wasting seeds every bit much as you lot possibly tin.
Germinating Cannabis Seeds In A Propagator With Peat Pellets
You lot get the highest success charge per unit when you provide the perfect environment for formation. A propagator ensures optimal control over the environment.
Pros
- best chance of success
- once you have the propagator, you can keep reusing it
Cons
- need for equipment/higher startup cost
- not as simple as some other methods
There are diverse types of propagator on the market: some just have a plastic dome, some have seed starter trays, some have heating pads and some even include a grow calorie-free. Hither is a depression cost propagator that includes a seed starter tray. *
Fill each hole in the seed tray with a peat pellet. You can buy them at any garden shop or get them online. This bag of pellets from Jiffy is a nifty deal.*
To use the pellets, simply soak them in water for around ten minutes. They volition aggrandize.
One time expanded, poke a little hole near half an inch (1.5 cm) deep into each pellet. Place one seed in each of the pellets and comprehend the seed up. Information technology needs to be beneath the soil in darkness.
Make sure you keep the propagator warm, at a temperature of 68° to 82° F (20° to 28° C) and the seed pellets moist. They can never dry out out or the seed volition die.
Note that peat pellets are great for planting in soil or coco coir, just they practice not work with a hydroponic setup. For that, you should use rapid rooters.*
Rapid rooters actually work cracking for any blazon of setup, but we prefer peat pellets for non-hydroponic setups, because they cost less and they do not dry out out (since rapid rooters come up in bags of 50 or more, if you lot do not employ all 50 fairly shortly, the remaining ones volition dry out out and become useless, though you can reseal them to give yourself a bit more time).
Whether using peat pellets or rapid rooters, this method ensures a high rate of success, merely it does require the purchase of a propagator and the pellets or rapid rooters.
You can salve a bit of money by skipping the propagator and just rigging something up yourself (or not using any type of covering at all), which is what we'll encompass next.
Using Peat Pellets With No Propagator (Or With A DIY Propagator)
If you are on a fleck of a upkeep, y'all can forgo the propagator and just apply peat pellets on their own. You could even make a DIY propagator by only using some kind of plastic cover.
Pros
- lower toll than using propagator
- peat pellets (or rapid rooters) still offer the best take a chance of success, even without a propagator
Cons
- less control than with propagator
- if using a DIY propagator, requires time to construct
A great DIY solution is to use simple plastic cups, ane for each peat pellet. Cut the top off a pocket-sized plastic drink bottle and place it over the peat pellet with the seed as a dome.
Merely you don't need any propagator at all.
Covering the seeds helps go on in the moisture and makes it easier to proceed them warm, only information technology is not necessary. Y'all can just as hands proceed the peat pellets uncovered, as long as you ensure they stay moist and are kept in the correct temperature range.
Germinating Cannabis Seeds Using Paper Towels
This is probably the most written about method, but that does not make it the best. It is like shooting fish in a barrel and you won't need any additional equipment, but it requires handling the delicate seedling.
Pros
- very easy
- no additional equipment required (assuming you have newspaper towels)
Cons
- requires transplanting the seeds, which risks harm
- demand to ensure the paper towel stays clammy, but not wet
The merely matter you need for this method is a paper towel, although I would also recommend using two plates.
For the paper towel, you actually desire to utilise the cheapest brands. More expensive towels are more porous, which makes information technology easier for the fragile root to go stuck and tear off when transplanting the seedling.
For this method, place a paper towel on a plate and become it nice and moisture. Drain off whatever excess water, though. It should be damp, only there should be no continuing water or the seeds tin drown.
Put your seeds on one half of the newspaper towel and fold the other one-half over them, so that they are covered. Then take the second plate and put information technology upside downwardly on the bottom one, forming a dark cavern between the two plates for the seed to germinate.
Bank check once or twice a day to ensure that the paper towel never dries out. If you lot need to add water, make sure that you always drain out any standing water. Keep the seeds covered and at the correct temperature. They should sprout in a few days.
Once they have sprouted, you'll want to transfer them to soil or a growing medium. Meet below for instructions on how to do this.
Germinating Weed Seeds In Soil
This method is the easiest, since you just let the seeds germinate in the aforementioned place where they volition grow afterward. Not having to transplant the seed later it sprouts means you don't take a chance dissentious information technology causing information technology daze that will slow growth. The main drawback is a lower success rate.
Pros
- easiest method
- no transplanting required
- no additional equipment required
Cons
- lower success rate than other methods
All you lot do for this method is poke a pigsty in the soil or growing medium that is about one-half an inch deep (one.5 cm). Place the seed in the hole and comprehend it up. Ensure that the soil or growing medium is moist, but not soaking wet. The temperature needs to be in the correct range too.
Germinating Marijuana Seeds In H2o
This is some other easy method, but it does require transplanting the seeds in one case they have sprouted.
Pros
- very easy
- no additional equipment required
Cons
- lower success rate
- frequently seeds will not sprout in time and you will need to apply a different method as a backup (or lose the seed)
For this method, merely fill a glass with warm h2o and drop the seeds inside. Store in a dark and warm place for 12 to 24 hours.
You should run across the tap root poking out of the seeds by then. If not, you'll want to continue germinating the seeds elsewhere, perhaps in soil. If they are submerged in h2o for more than 24 hours, there is a risk that the seeds can drown.
My Seeds Germinated, Now What?
Once the seeds take germinated, it is time to transplant them into soil or a growing medium. Be very conscientious not to damage the delicate taproot. Ideally, use tweezers to handle the seeds, to avoid any oils from your fingers doing any impairment.
Institute the seeds about 1 to 2 cm deep, so that it does non crave too much energy for the stem and first leaves to pop up through the soil.
Make sure the soil is moist and the seeds are kept at the correct temperature of 68 ° to 82 ° F (20 ° to 28 ° C). Your little plants should pop out of the soil within a few days.
At this point, the seeds will want light, and lots of it. Even if they are however beneath the soil, you lot can go ahead and turn on your abound low-cal.
If you do not have a grow light, at that place are a number of different types you tin can consider. For seedlings, fluorescent lights or LED light bars (like the HLG Propagator Cloning Lamp) are ideal, unless you are germinating a lot of seeds at one time. Then you lot might want to consider a larger LED grow light.
Best LED Grow Lights For Starting Seeds
The best LED grow light for seedlings is the NextLight Veg8 Pro. Information technology was especially designed for seedlings, clones and vegging, with a separate "clone" mode for clones and seedlings. The main drawback is that it is made to cover a 2 by 4 foot area. If you lot only have a few seedlings, this light will be overkill.
LED confined are the best LED lights for seed starting when you don't accept enough seedlings to fill up a two by 4 foot area. The Secret Jardin bar is a swell choice. Information technology is cheap and will give off enough light to get your plants through the seedling stage in no time.
Another great selection is the HLG Propagator Cloning Lamp which you can become for a very good deal if you're ownership a few of them as they come up in packs of 1,2 or four. It's an inexpensive option for a larger cloning area and HLG is i of our favorite LED Co's
HPS Or MH For Seedlings
Yous tin can put seedlings under HPS or MH light, but I would merely propose this if you already accept the lights. It is more cost effective to use LED or fluorescent lights.
The only time MH or HPS actually makes sense is if y'all keep your plants in the same space from seed to harvest, i.e. yous exercise not have a divide surface area for seedlings.
Metallic halide light is better for seedlings than HPS low-cal, since they demand libation light with more blueish calorie-free than red.
When To Put Seedlings Under MH or HPS
Yous can plough the grow calorie-free on in one case the seeds have sprouted and they are in the soil or growing medium. Even if the plant is still not visible, the rut from the abound light will actually help warm the soil, which encourages the institute to grow.
How Long From Seedling To Vegetative
It normally takes from 10 to 15 days for seedlings to transition to vegetative growth, but information technology is hard to give an exact timeline. Information technology just varies and so much from ane strain to the next and from one growing environs to the next.
How Long Exercise Weed Seeds Terminal?
If stored correctly, marijuana seeds could last upwards to five or 6 years. That said, the older they get, the lower the hazard of successful germination and the longer it takes, even if it is successful.
To store your seeds for the best results, keep them in a cool, dark identify. A basement works well, equally does a refrigerator.
Where To Go Seeds
We often go customers asking to purchase seeds from us. Unfortunately, nosotros practice not sell seeds ourselves, only we highly recommend the seed store from I love Growing Marijuana.
Yous can discover it here.
They have a huge selection of quality seeds and their prices are excellent, especially when you lot snag one of their deals.
*Commission earned
Source: https://growlightcentral.com/blogs/news/cannabis-seeds-light-for-germination
0 Response to "what kind of light to use for seedlings"
Post a Comment